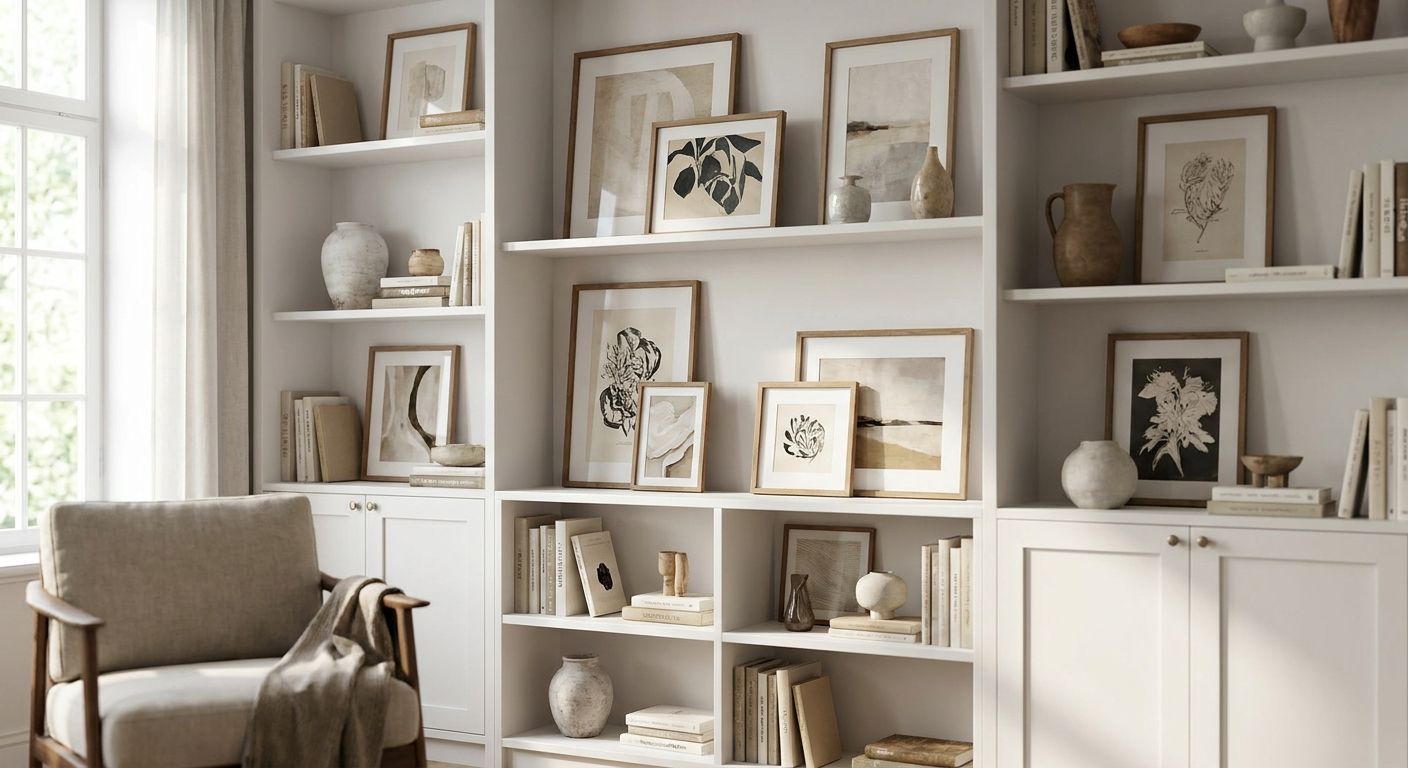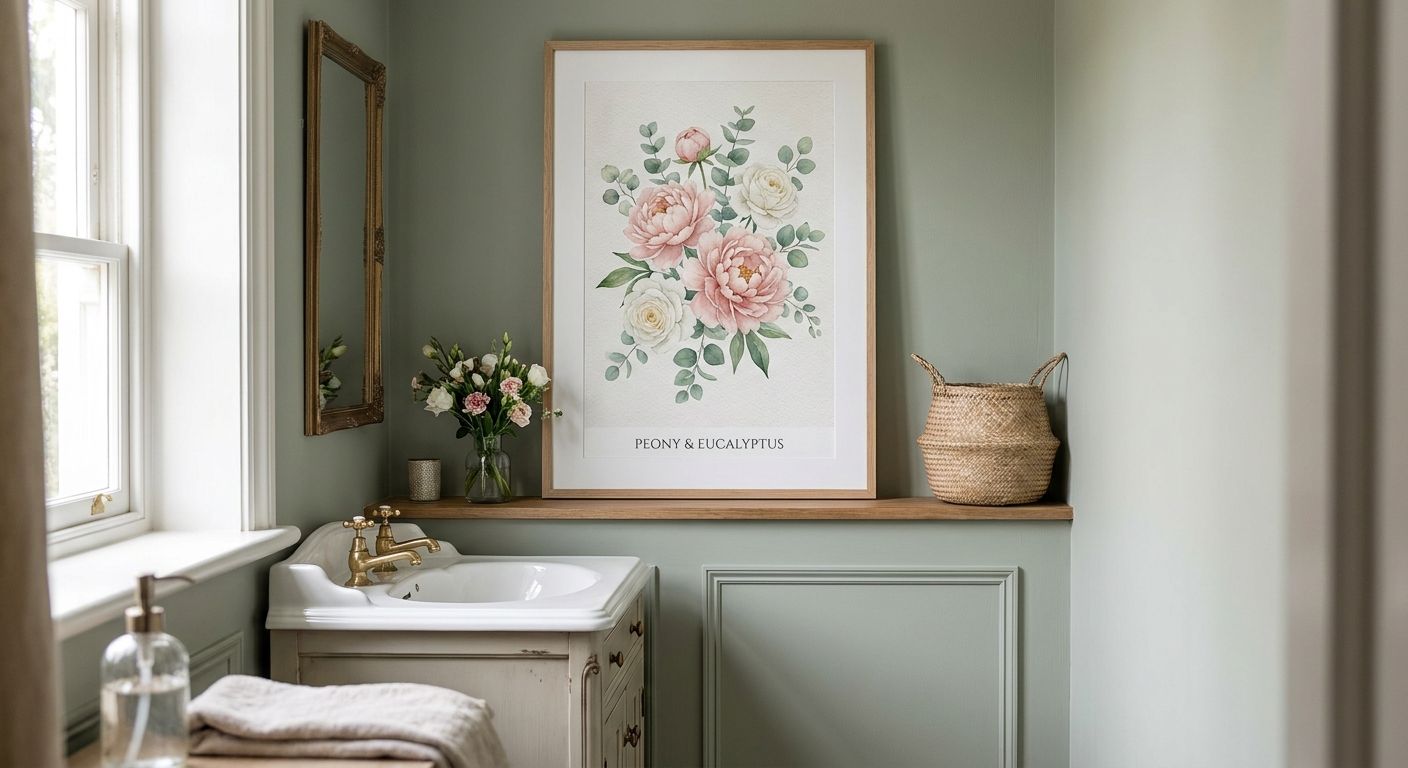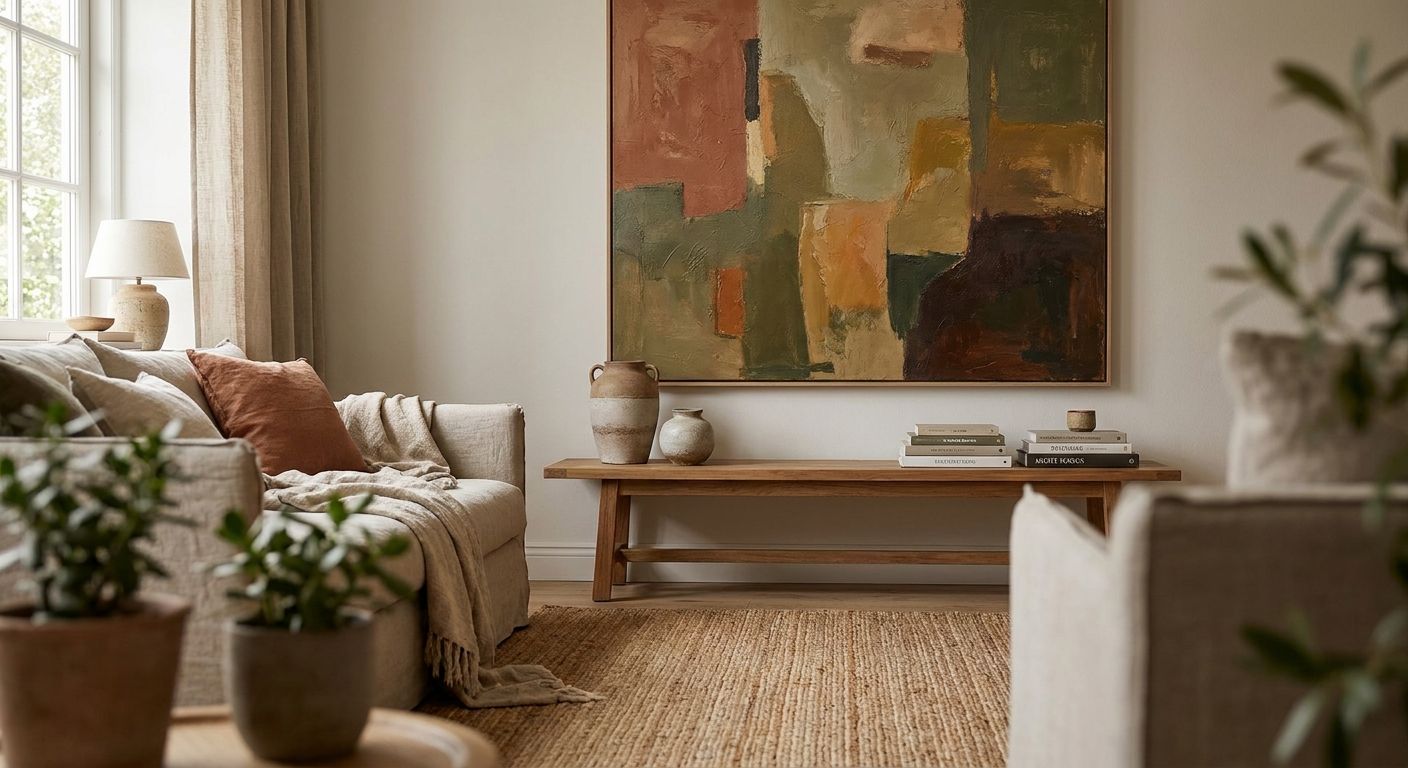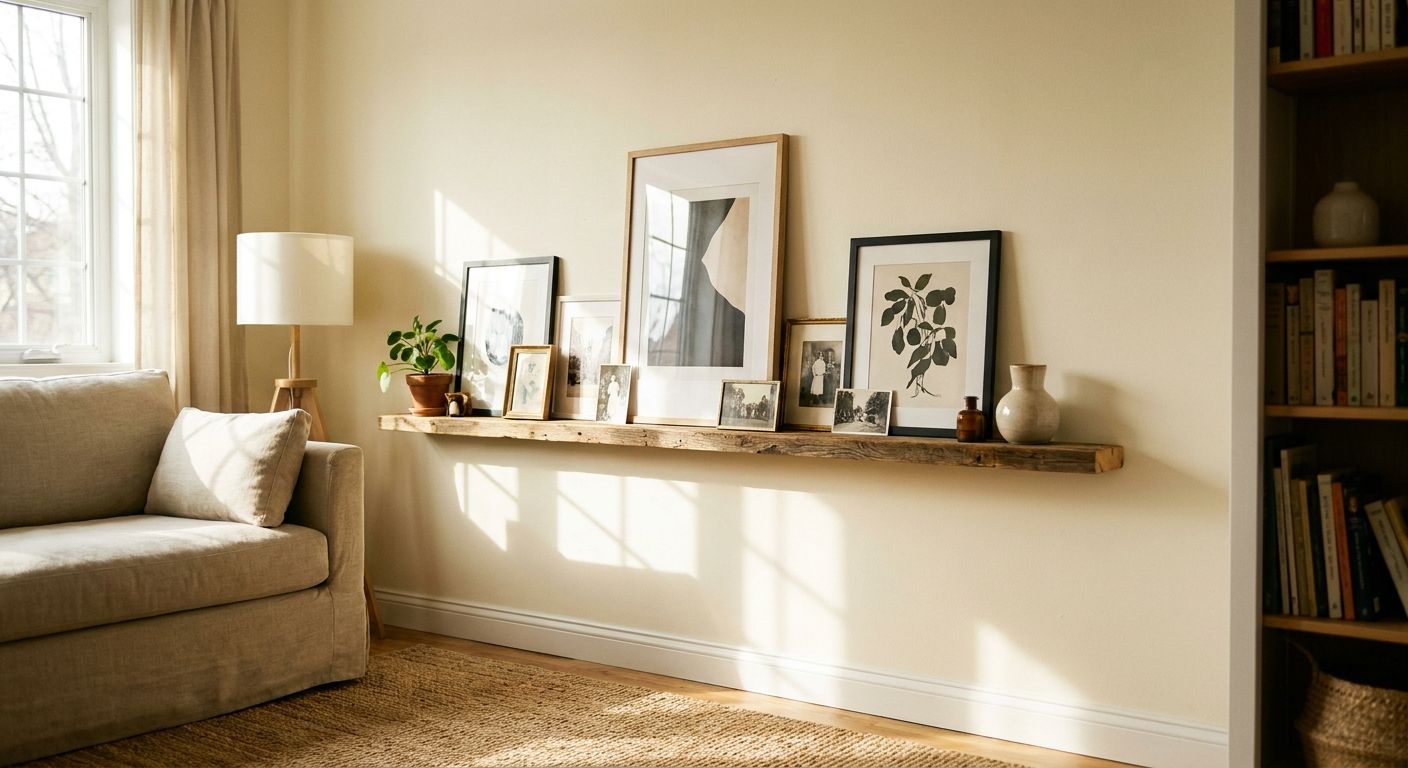
A picture ledge display works differently from a fixed gallery wall: the ledges stay put, and the prints leaning on them change with the seasons, the holidays, or just your mood. This guide walks through building a ledge system that makes swapping prints fast instead of a weekend project.
- Mount ledges 3.5 inches deep minimum so standard canvas and framed prints lean without tipping forward.
- Space ledges 10-12 inches apart vertically to layer prints without covering the row below.
- Rotate 2-4 pieces per ledge, leaning the largest piece at the back for depth.
- Gioia Wall Art's curated canvas prints in 2026 come in multiple sizes, which makes ledge rotation easier than framed pieces bought as one-offs.
- Skip glass-framed prints for ledges near doorways — vibration knocks them forward over time.
Why this matters
A gallery wall commits you to nail holes and a fixed layout. A picture ledge display lets you swap art seasonally, mix kids' artwork with fine art prints, and change the whole room's mood in ten minutes without touching the wall again.
The catch: most ledge displays fail because the ledge itself is the wrong depth, the spacing is off, or the prints picked are too heavy or too glossy to lean safely. Fix the setup once in 2026 and the rotating part stays effortless for years.
What you'll need
- 2-3 floating picture ledges, at least 3.5 inches deep (shallower ledges tip lighter prints forward)
- A stud finder or drywall anchors rated for at least 10 lbs per ledge
- A level and a pencil
- Painter's tape for marking spacing before drilling
- A rotating stack of prints: mix of canvas prints sized 8x10 to 16x20, plus one or two smaller framed pieces
- Removable putty or museum wax if the ledge sits somewhere prone to bumps (near a door, a kids' hallway, a cat's favorite runway)
The steps
1. Pick the wall and measure eye level first
Ledge displays read best when the top ledge sits close to eye level for whoever uses the room most — around 57 to 60 inches from the floor to the center of that top row is the standard interior design reference point. Measure before you mark anything.
Common mistake: hanging the top ledge too high because the wall "has room" above it. Ledges above eye level get ignored no matter how good the prints are.
2. Space multiple ledges 10-12 inches apart
If you're stacking two or three ledges, leave 10-12 inches of vertical clearance between them. That's enough room for a 16x20 canvas leaning on the lower ledge without its top edge covering the ledge above it.
Common mistake: cramming ledges 6 inches apart to fit more rows. It looks tight in a mockup and cramped on the actual wall.
3. Install into studs or rated anchors
A loaded ledge with two or three leaning canvas prints easily carries 8-15 lbs. Find a stud with a stud finder, or use anchors rated for at least 10 lbs per anchor point if you're going into drywall alone. Two anchor points per ledge minimum.
Common mistake: using a single center screw. Ledges twist under leaning weight and the whole row slides sideways within weeks.
4. Set the depth before you buy prints
A ledge under 3.5 inches deep won't hold a framed print with any weight to it — the frame's base is wider than the ledge lip and it tips forward the first time a door slams. If your ledge is shallow, stick to lightweight canvas prints and posters rather than framed glass pieces.
Common mistake: buying a decorative narrow ledge for looks, then fighting it every time you rotate prints.
5. Build your rotation in layers, not a single row
The layering trick that separates a flat ledge line from a styled one: lean your largest print flat against the wall at the back, then overlap a smaller print in front of it, offset to one side. Add one small object — a mini frame, a dried branch — in the gap. This is the same layering principle used in gallery wall arrangements, just untethered from nails.
Common mistake: lining prints up edge to edge like a bookshelf. It reads as storage, not display.
6. Anchor heavier or off-center pieces with putty
Any print leaning near a door, a hallway with foot traffic, or a spot pets pass through needs a dab of removable putty behind the bottom corners. It holds the piece in place through vibration but peels off clean when you rotate in a new print.
Common mistake: skipping putty because "it's just leaning." One slammed door and a canvas print face-plants onto the floor.
7. Rotate on a seasonal or occasion-based schedule
Pick a rhythm that's actually sustainable: seasonal (four swaps a year), holiday-driven, or tied to whatever's changing in your life — a new baby's nursery wall art, a kid's latest artwork, a new coastal print picked up for summer. Keep 2-4 extra prints on hand in a closet so rotation takes minutes, not a shopping trip.


Troubleshooting
- Prints slide forward on their own. Your ledge lip is under 3 inches or the print's frame edge is beveled. Add museum wax dots at the base corners.
- The ledge feels loose after a few months. Anchors weren't rated for the combined weight of your rotation. Re-anchor into a stud or upgrade to a heavier-duty anchor before adding a third print.
- Layered prints look messy instead of styled. You've got too many pieces on one ledge. Cap it at three per ledge and vary the sizes noticeably — don't lean three same-size canvases together.
- Rotation feels like a chore. Store your backup prints somewhere visible, like a closet shelf, not a box in the garage. Friction kills the habit.
- Glare washes out the display at certain times of day. Swap glossy framed pieces for matte canvas prints in that spot — canvas handles overhead and window light without the reflection problem.
- The top row disappears visually. It's above eye level. Drop it 4-6 inches even if that means shorter ledges below it.
Tools and resources
- Stud finder, level, painter's tape, and drywall anchors rated 10+ lbs
- A rotating stock of canvas art sized for small apartments if your ledge wall is compact
- Museum wax or removable putty for high-traffic spots
- A reference for arranging pieces in layers if you're combining ledges with a fixed gallery section nearby
- Wall-safe hanging hardware if you decide to add a fixed anchor piece above the ledge — see how to hang canvas art without damaging walls
What to do next
Once the ledges are installed and the rotation habit is set, the next upgrade is usually pairing the ledge with one fixed anchor piece above the sofa or console it sits over — a larger, permanent print that doesn't rotate, with the ledge doing the seasonal work underneath. Gioia Wall Art's guide on above-the-sofa wall art covers sizing that pairing correctly.
FAQ
What's the best depth for a picture ledge display?
3.5 inches deep is the minimum that keeps standard canvas and framed prints from tipping forward when leaned. Shallower ledges work only with lightweight, unframed prints.
How far apart should picture ledges be spaced?
Space ledges 10-12 inches apart vertically. That leaves enough clearance for a 16x20 canvas on the lower ledge without covering the row above it.
How many prints should go on one ledge?
Three prints per ledge is the practical cap for a styled look. Layer one large piece at the back with a smaller one offset in front rather than lining them edge to edge.
Is a picture ledge better than a gallery wall for rotating art?
Yes, for anyone who swaps prints seasonally or by occasion — ledges skip the nail holes entirely. A fixed gallery wall is better for a permanent arrangement you won't touch again.
Do picture ledges work for canvas prints or only framed art?
Canvas prints work well on ledges because they're lighter and don't have glass to worry about near doorways or high-traffic hallways. Framed prints need a deeper ledge and anchoring putty.
How often should you rotate a picture ledge display?
Seasonal rotation, about four times a year, is the most sustainable schedule. Some households rotate by occasion instead, swapping in holiday or event-specific prints as needed.
What height should a picture ledge be mounted at?
Mount the top ledge with its center around 57 to 60 inches from the floor, matching standard eye-level hanging height for the room's main sightline.
Can picture ledges hold heavy or large canvas prints?
A well-anchored ledge into a stud can carry 8-15 lbs across two or three leaning prints, but a single oversized canvas needs a deeper ledge and two anchor points minimum.
One last thing
The detail most people skip: buy your ledges before your prints, not after. A ledge under 3.5 inches deep locks you into unframed, lightweight prints for as long as it's on the wall — measure first in 2026, shop second.