Hanging a canvas print sounds simple until you're staring at a blank wall with a hammer in one hand and zero confidence in the other. This guide walks through the exact steps for hanging canvas art without cracking plaster, leaving fist-sized holes, or watching your favorite print slide sideways by dinnertime.
- Command strips rated for at least 16 lbs handle most 24x36 canvases without a single nail hole.
- Center art 57 to 60 inches from the floor to the midpoint — the museum-standard height used since the 1990s.
- Stud-finder placement beats drywall anchors for anything over 15 lbs; skip the anchor and find the stud.
- A painter's-tape template lets you test canvas art placement in 2026 without ever touching the wall.
- Gallery walls need a paper layout first — eyeballing spacing is the #1 cause of crooked, damaged installs.
Why this matters
Most wall damage isn't from hanging art wrong — it's from hanging it twice. You drive a nail, step back, realize it's two inches off-center, patch the hole, and try again. Multiply that by a gallery wall of six pieces and you've got a wall that looks like it survived a dart tournament.
The fix isn't fancier hardware. It's sequencing: measure and mark before anything touches the wall, choose hanging hardware that matches the canvas weight, and commit to one hole per piece. Renters have extra reason to care in 2026, since most leases still charge for patch-and-paint on move-out — a $6 pack of Command strips is cheaper than a security deposit deduction.
What you'll need
- Tape measure
- Stud finder (magnetic or electronic)
- Painter's tape and kraft paper (for the placement template)
- Level
- A canvas print, framed or gallery-wrapped, sized for the wall
- Damage-free hanging strips rated for the canvas weight, or a picture-hanging kit with D-rings and a single nail
- Pencil
- Hammer (only if using a nail or hook, not needed for adhesive strips)
If you're still shopping, Gioia Wall Art carries canvas prints in sizes from 12x16 up to statement-wall scale, which matters here — the size you buy determines the hardware you'll need before you even get to step one.
The steps
1. Measure the wall and the canvas
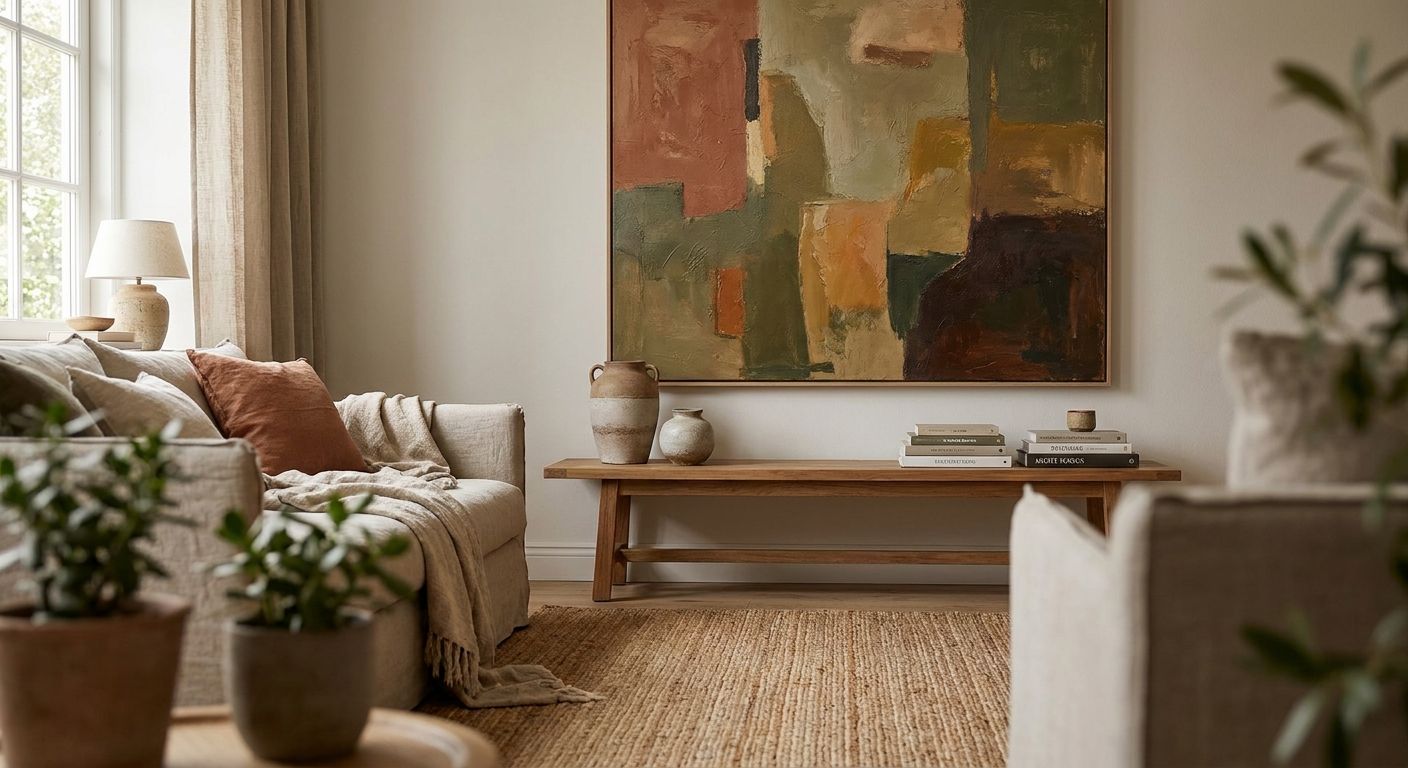
Get the exact width and height of the canvas, including any frame, and the width of the wall space you're working with. This tells you whether one large piece or a set of three fits better, and it prevents the classic mistake of buying art too small for the wall — a 16x20 canvas over an 80-inch sofa reads like an afterthought.
Common mistake: measuring the wall but not the furniture beneath it. Art over a sofa or console should run 24 to 36 inches shorter than the furniture's width, not the wall's.
2. Find the right hanging height
Mark the wall at 57 to 60 inches from the floor to the vertical center of the canvas — the height galleries have used for eye-level viewing since the 1990s. For a piece hung above furniture, drop that to 6-8 inches above the sofa or console back instead.
This single number fixes 90% of "why does this look off" complaints. Too high and the room feels disconnected; too low and it competes with furniture.
3. Locate a stud or pick your anchor strategy
Run a stud finder across the marked zone. If a stud lands within 3 inches of your target spot, use it — a stud can hold well over 20 lbs with just a nail, no anchor needed.
No stud nearby? For canvases under 15 lbs (most single 24x36 prints), damage-free adhesive strips rated for that weight are the better call over drywall anchors, since anchors leave a hole roughly a quarter-inch wide that needs patching later.
4. Test placement with a painter's-tape template
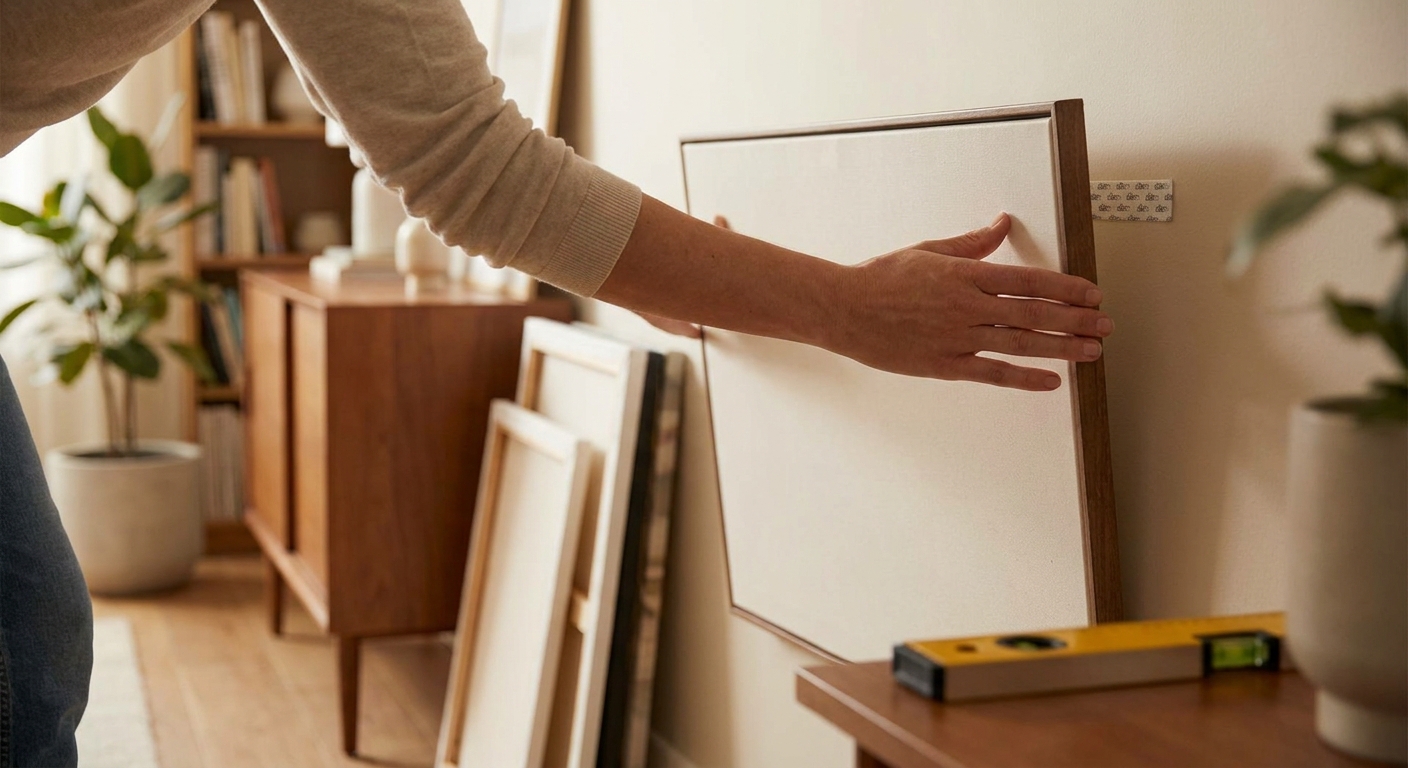
Trace the canvas outline onto kraft paper, cut it out, and tape it to the wall at your marked height. Step back 6-8 feet and look at it from where you'd actually sit or stand.
This is the step people skip and immediately regret. Adjusting a piece of paper costs nothing; adjusting a drilled hole costs a tube of spackle and a repaint.
5. Choose damage-free hardware sized to the canvas
Match hardware to weight, not to whatever's in the junk drawer:
- Under 5 lbs (small framed prints): adhesive picture-hanging strips
- 5-15 lbs (standard 24x36 canvas): heavy-duty Command-style strips rated for the weight, or a single monkey hook
- 15+ lbs (large canvas, framed art, or multi-piece sets): stud-mounted D-ring hardware or a picture-hanging kit rated for drywall without a stud
Check the rated weight on the packaging against your canvas's actual weight — most retailers list it, and guessing low is the #1 reason adhesive strips fail within the first week.
6. Attach hardware and level the piece
Press adhesive strips firmly for 30 seconds per the packaging instructions, or drive a single nail at a slight upward angle into the stud you located in step 3. Hang the canvas and check it with a level before letting go.
Common mistake: eyeballing level instead of using one. A canvas even 2 degrees off is noticeable from across the room, especially with horizon-line landscapes or cityscape prints.
7. Adjust and step back
Give the wall a final look from the doorway, not just up close. Lighting changes how a piece reads — a print that looks perfectly centered under a ceiling light can look low once natural light shifts in the afternoon.


8. For multi-piece sets, build the layout before drilling
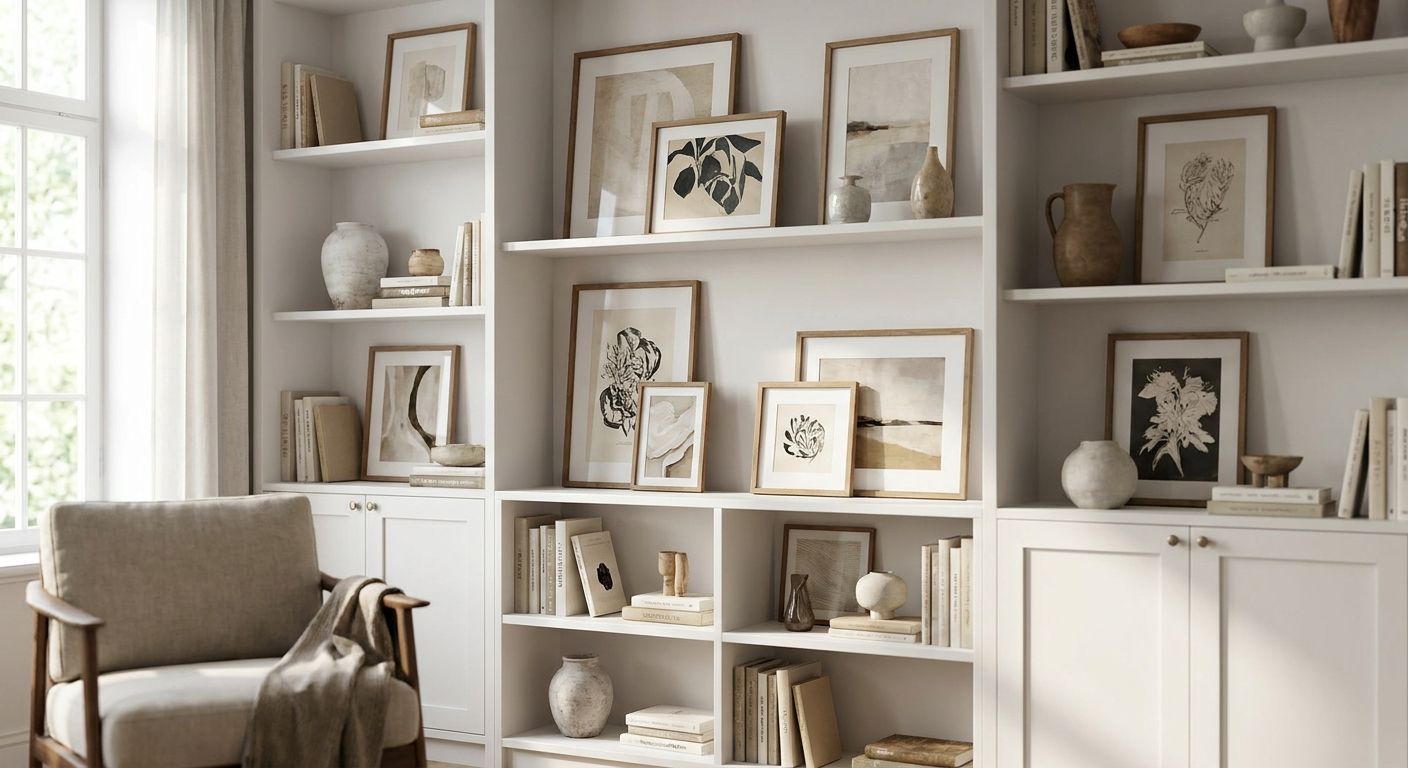
If you're hanging a diptych, triptych, or full gallery wall, lay every piece out on the floor first in the exact arrangement you want, then trace each onto paper and tape the templates up together. Adjust spacing on the templates — 2-3 inches between pieces is standard — until the whole arrangement looks right, and only then transfer marks to hardware. A well-planned gallery wall layout hides minor spacing inconsistencies far better than a rushed one.
Troubleshooting
- Canvas leans forward at the top: the hanging point sits too high relative to the wire or D-ring. Move the nail or hook down half an inch.
- Adhesive strips won't hold a heavy canvas: the strips are under-rated for the weight. Swap to a stud-mounted hook or split the load across two strips positioned at the top corners instead of one center strip.
- Small hole crumbles into a bigger one: you likely hit old, soft drywall or plaster patched over the years. Use a self-drilling anchor instead of a bare nail — it distributes weight and won't widen the hole.
- Gallery wall looks crooked even though each piece is level: the spacing between pieces is inconsistent, not the pieces themselves. Re-measure gaps with a tape measure rather than eyeballing.
- Plaster wall cracks around the nail: plaster is brittle compared to drywall. Drill a small pilot hole first, or switch to adhesive strips entirely if the plaster is original to a pre-1980s home.
- Picture wire shows above the frame: the wire is too loose. Tighten it so the highest point of the wire sits about a third of the way down from the top of the frame.
Tools and resources
- Stud finder and level, non-negotiable for anything over 15 lbs
- A picture-hanging kit with pre-rated hardware for canvases without stud access
- Painter's tape and kraft paper for the placement template
- If you're planning more than one piece, review canvas art sets for gallery walls before you buy — sets are pre-sized to hang as a cohesive layout, which removes most of the spacing guesswork in step 8
What to do next
Once the canvas is up and level, live with it for a week before deciding it's final. Lighting and daily sightlines change how placement reads, and a lot of "it feels off" moments resolve simply by walking past it at different times of day in 2026's shorter winter light versus summer evenings.
FAQ
How do you hang canvas art without nails?
Damage-free adhesive strips rated for the canvas weight hold most prints under 15 lbs without a single nail hole. Press each strip firmly for 30 seconds and let it cure for an hour before hanging the full weight.
What height should canvas art be hung at?
Center the canvas 57 to 60 inches from the floor to the artwork's midpoint, the standard museums have used since the 1990s. Over furniture, drop that to 6-8 inches above the piece instead.
Do Command strips really hold canvas art?
Yes, as long as the strips are rated for the canvas's actual weight, not just its size. A 24x36 gallery-wrapped canvas typically weighs under 10 lbs, well within range for heavy-duty adhesive strips.
Is it better to hang canvas art on a stud or with an anchor?
A stud holds more weight with less wall damage than any anchor, so use one whenever it lines up within a few inches of your placement. Reserve anchors for canvases over 15 lbs with no stud nearby.
How do you hang a gallery wall without damaging walls?
Lay the full arrangement out on the floor first, trace each piece onto paper, and tape the templates to the wall before drilling or sticking anything. This confirms spacing and alignment with zero permanent marks.
Can you hang heavy canvas art on drywall without a stud?
Yes, with a rated drywall anchor kit built for the weight class, though a stud is still the sturdier option. Self-drilling anchors distribute weight across a wider area than a bare nail and hole.
How do you patch a nail hole from hanging art?
A small dab of spackle pressed into the hole, smoothed flush, and touched up with matching paint once dry disappears completely within a day. This only applies to true nail holes — adhesive strip removal usually needs no patching at all.
What's the biggest mistake people make hanging canvas art?
Skipping the paper template and drilling straight into the wall on a guess. Testing placement first with painter's tape is the single change that prevents most repeat holes.
One last thing
The detail almost nobody checks: canvas weight isn't printed consistently across retailers, so the hardware rating on the box means nothing if you're guessing at the art's actual weight. Weigh the canvas on a bathroom scale before picking hardware — it takes 15 seconds and prevents the single most common reason adhesive strips fail in the first month.