Fourteen frames leaning against a wall look like a garage sale. The same fourteen frames, spaced two inches apart and centered at eye level, look like something out of a design magazine. Arranging a gallery wall with framed art in 2026 is a measuring problem disguised as a decorating problem, and once you treat it that way, the whole project takes an afternoon instead of a weekend of second-guessing.
- Space frames 2 to 4 inches apart to keep a gallery wall looking intentional, not crowded.
- Center the arrangement at 57 to 60 inches from the floor, the standard eye-level height in 2026.
- Lay the layout out on the floor with paper templates before a single nail goes in the wall.
- A canvas print set of three simplifies gallery wall arranging for first-timers and renters. Buy.
- Hang the largest or heaviest frame first and build outward from there, not the other way around.
Why This Matters
Most gallery walls fail for one of two reasons: no plan, or the wrong plan for the space. A grid works over a console table. A salon-style scatter works over a staircase. Mixing the two mid-project is how you end up with a wall full of nail holes and a stack of frames still on the floor.
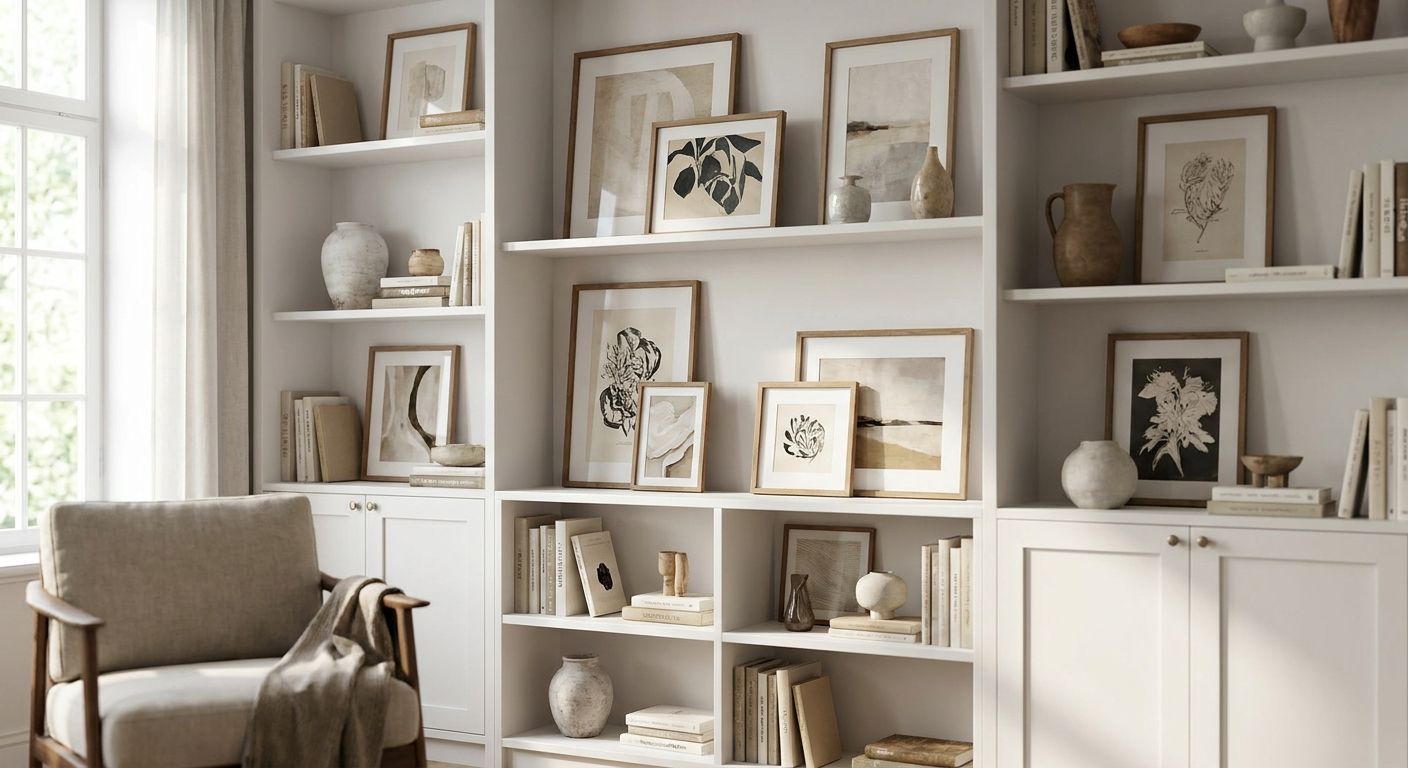
Gioia Wall Art sells framed art in sizes and finishes built for exactly this kind of layering, and the framed wall art for gallery wall layouts guide breaks down which frame styles pair well together. The short version: pick one common thread (frame color, mat width, or subject matter) and let everything else vary. That single rule is what separates a curated gallery wall from a cluttered one.
What You'll Need
- A tape measure and a pencil
- Painter's tape or kraft paper for floor and wall templates
- A level (a phone app level works fine)
- Picture hooks rated for the frame weight, or picture-hanging strips for lighter pieces
- 5 to 9 framed pieces, or a pre-matched canvas set
- 30 to 60 minutes of uninterrupted wall space
If you're starting from scratch rather than working with frames you already own, a matched set removes the guesswork on scale and spacing before you even pick up the tape measure.
The Steps
1. Pick a layout style before you touch a frame
Decide between a grid (even rows and columns, best for modern and minimalist rooms), a salon mix (varied sizes and orientations, best for eclectic or maximalist spaces), or a linear row (single line of frames, best for hallways and above sofas). This decision drives every measurement that follows, so make it first and don't revisit it mid-hang.
Common mistake: starting to hang frames with no layout decided, then trying to force a grid pattern out of mismatched frame sizes halfway through.
2. Trace every frame onto paper
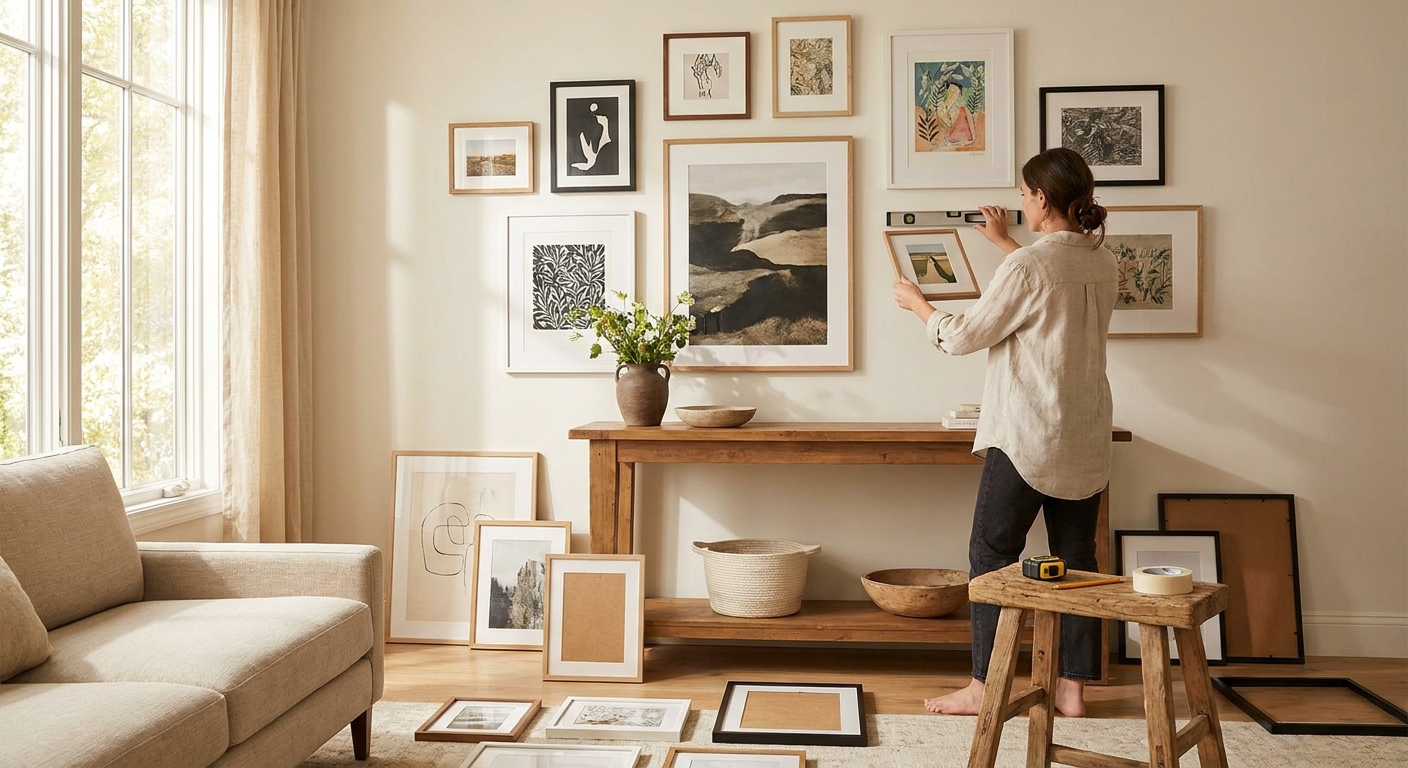
Lay each frame face-down on kraft paper and trace the outline, marking where the hanging hardware sits relative to the top edge. This single step is what makes the rest of the process reversible — you can move paper around all day, but you can't un-drill a wall.
3. Arrange the templates on the floor first
Lay the paper cutouts on the floor in front of the wall and shuffle them until the balance feels right. Aim to fill 60% to 75% of the intended wall space; anything less looks sparse, anything more looks cramped. This is the step people skip, and it's the one that saves the most rework.
4. Tape the templates to the wall
Transfer the floor arrangement to the wall using painter's tape, keeping 2 to 4 inches between each template edge. Step back 6 to 8 feet and look at it from across the room — spacing that looks tight up close often reads as balanced from normal viewing distance.
Common mistake: spacing frames more than 4 inches apart, which makes a gallery wall look like separate, unrelated pieces instead of one composition.
5. Set your anchor point at eye level
The visual center of the whole arrangement should land between 57 and 60 inches from the floor — the same eye-level standard used for single pieces of framed art. For a layout with one dominant frame, that frame's center is your anchor; for a grid, it's the midpoint of the whole grid.
6. Mark hardware placement and hang the anchor piece first
Use the tracing marks on each template to mark exact nail or hook placement directly through the paper into the wall, then remove the paper and hang the largest or most central frame first. Everything else gets positioned relative to that piece, not to a wall measurement, which keeps small errors from compounding across the whole arrangement.
7. Hang outward and check with a level at each step
Work from the anchor piece outward in both directions, leveling and re-measuring the 2 to 4 inch gap as you go. Don't wait until all frames are up to check alignment — catching a half-inch drift after three frames is a five-minute fix; catching it after nine is a full afternoon.


Troubleshooting
The wall isn't perfectly flat or plumb. Older homes especially have walls that lean or bow slightly. Use a level at every hang point rather than trusting the wall's edges or trim as your reference line.
Frame colors clash once they're all up together. Pull one frame at a time rather than the whole arrangement — swap the worst offender for a matching finish and reassess before pulling a second. Mixed metals (black and gold, for example) read intentional; mixed finishes of the same metal read accidental.
You don't have enough pieces to fill the space. Don't stretch spacing past 4 inches to compensate. Add a smaller accent piece or a mirror instead of loosening the grid — a canvas print set of three built for gallery walls solves this scaling problem in one purchase.
Ceilings are 9 feet or higher and the wall looks bottom-heavy. Extend the arrangement upward rather than widening it, and shift your eye-level anchor calculation to account for furniture beneath the wall (a console table adds roughly 30 inches of visual floor).
Renters can't put multiple nail holes in the wall. Picture-hanging strips rated for the frame weight replace nails entirely for lighter pieces under 5 pounds; for anything heavier, a single, well-placed hook still beats strips.
The arrangement looked right on paper but feels off on the wall. Live with the taped template for 24 hours before drilling. Lighting changes how spacing reads at different times of day, and what felt tight at noon can feel crowded at night.
Tools and Resources
- Best canvas art sets for gallery walls — pre-matched groupings that remove the scale-matching guesswork
- A basic level, painter's tape, and kraft paper for templating
- Picture-hanging strips for anything under 5 pounds
- A tape measure marked in inches, not just feet
Gioia Wall Art's framed prints ship ready to hang, which cuts one variable out of the whole process — you're only solving for layout and spacing, not framing.
What to Do Next
Once the layout is locked, the next decision is what goes above furniture that anchors the room. If the gallery wall sits over a sofa, spacing rules shift slightly since the furniture line becomes part of the visual balance — worth a separate read before you finalize the bottom row of frames.
FAQ
How far apart should frames be on a gallery wall?
Frames should sit 2 to 4 inches apart on a gallery wall. Anything wider makes the pieces look disconnected; anything tighter starts to feel cluttered once all the frames are up.
What is the correct height for a gallery wall?
The visual center of a gallery wall should land 57 to 60 inches from the floor, matching standard eye-level height for single framed pieces. For arrangements above furniture, measure up from the furniture top rather than the floor.
Should I plan a gallery wall on paper before hanging it?
Yes, trace each frame onto kraft paper and tape the templates to the wall before drilling anything. This step is what makes the layout reversible and prevents the most common gallery wall mistake: uneven spacing discovered too late.
How many frames do I need for a gallery wall?
Most gallery walls use 5 to 9 frames, though larger walls can hold more. A pre-matched canvas set of three is enough for a smaller accent wall without needing to source individual frames.
Is a grid or salon-style layout easier for beginners?
A grid layout is easier for first-timers because the even spacing removes most of the guesswork. Salon-style layouts look more relaxed but require more floor-planning time before anything goes on the wall.
Can I arrange a gallery wall without putting holes in the wall?
Yes, for frames under 5 pounds, picture-hanging strips rated for the weight hold securely without nails. Heavier framed canvases still need a single wall hook rather than strips alone.
What percentage of the wall should a gallery wall cover?
Aim to fill 60% to 75% of the available wall space. Less than that looks sparse; pushing past 75% starts to crowd the composition and loses the negative space that makes a gallery wall read as curated.
Do all the frames in a gallery wall need to match?
No, but pick one unifying element — frame color, mat width, or subject matter — and let sizes and orientations vary. Matching everything looks stiff; varying everything at once looks accidental.
One Last Thing
The single change that fixes more gallery walls than any spacing rule: swap out one busy, high-contrast piece for something quieter. Most arrangements that feel chaotic in 2026 don't have a spacing problem — they have too many frames competing for the eye at once, and pulling just one down often solves it faster than remeasuring the whole wall.